Arriving at a castle is the easy part. Getting a photograph that feels anything like standing there — the weight of the walls, the damp stone, the flag snapping on the tower — is where most trips fall short. You plan for months to see Conwy or Carcassonne, then come home with a grey frame of a wall and four strangers standing in front of it.
Castle photos fail in predictable ways. Nearly every disappointing image traces back to one of seven habits, and each is fixable with a small change of position, a little patience, or a different lens.
You Shoot Everything at Eye Level
Castles were built to be looked up at, which is exactly the trap. Standing at the gate with the camera at chest height gives you the flat, postcard view that a thousand other visitors took that same morning.
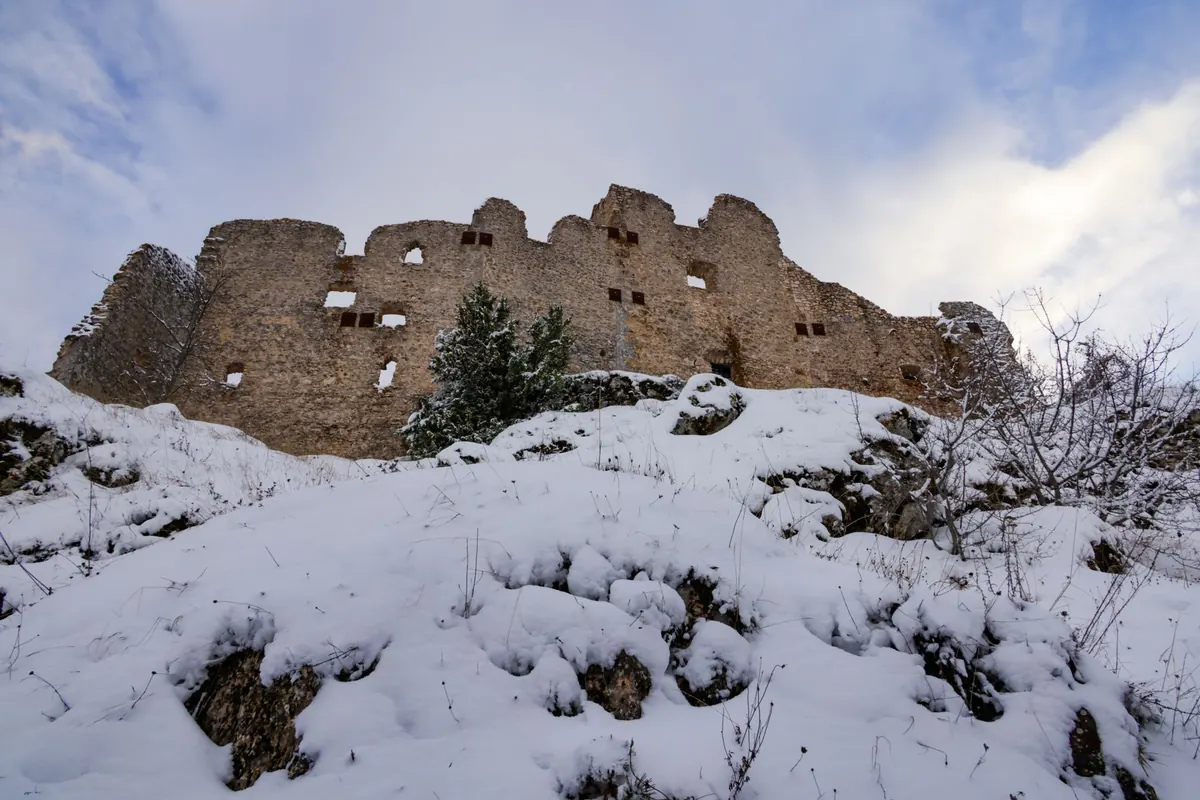
So get lower. Kneel on the grass, or use a puddle in the outer bailey to reflect a tower. From a low angle the walls lean inward and the building looks as imposing as it felt on the walk up.
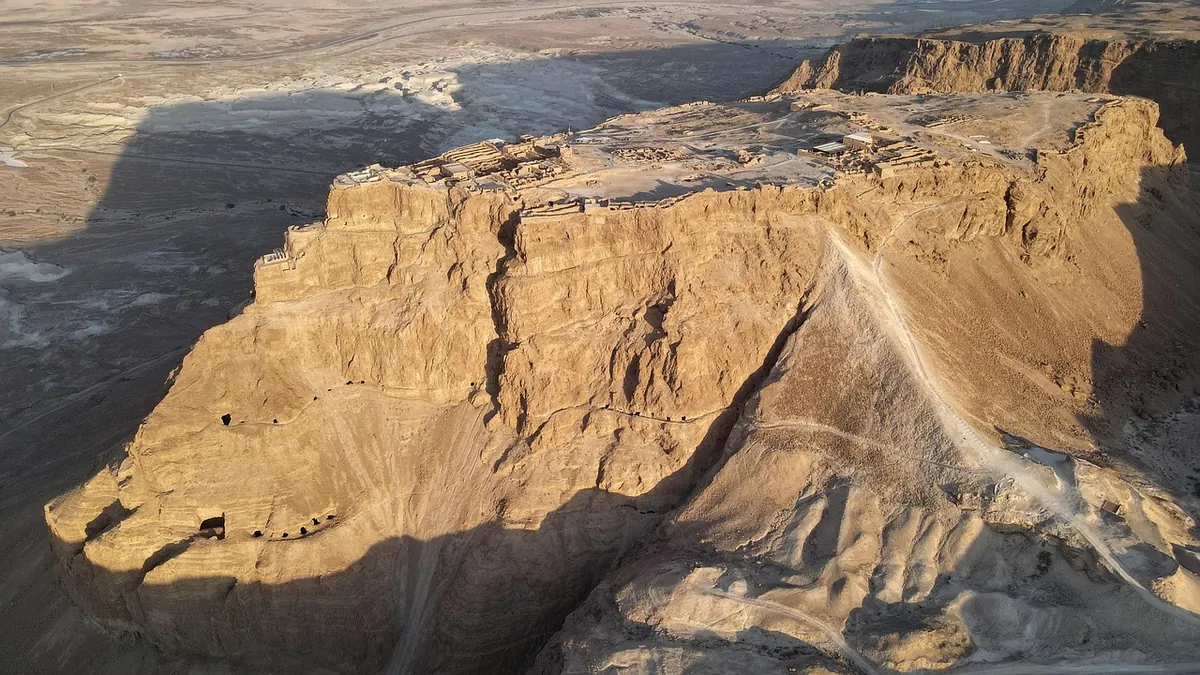
Then get higher. A nearby hill, a bridge, a public car park roof, a church tower with visitor access — anything that turns a façade into a plan. From above you can show the shape of the place: curtain walls, courtyard, the way it sits on its outcrop. That is the photograph nobody else in the queue has.
You Fight the Light Instead of Using It
Midday sun is the worst light for stone. It flattens texture, blows out pale limestone, and drops hard shadows across the very details you came to see. Three habits fix most of it.
- Shoot the hour after sunrise and the hour before sunset. Low sun rakes across the masonry and pulls out every course of stone.
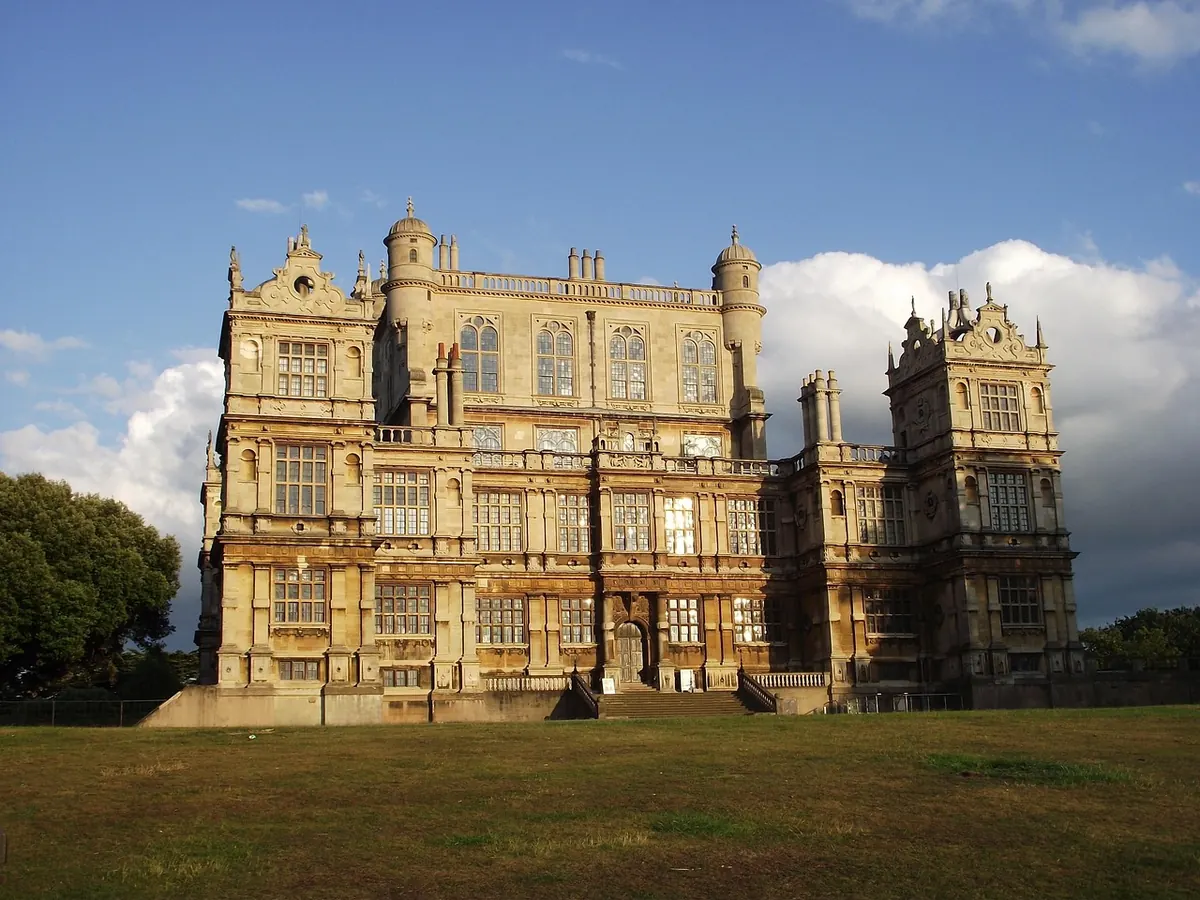
- Stay for blue hour. Twenty to thirty minutes after sunset the sky goes deep blue while floodlights warm the walls. With a tripod, this is often the best frame of the trip.
- Welcome overcast days. Heavy cloud is a giant softbox: no blown highlights, no black doorways, richer greens in the grounds.
If noon is your only option, walk around to the shaded side of the building, or shoot interiors, stairwells and details where direct sun does less damage. When the sky is bright and the walls are dark, expose for the sky and lift the shadows later, or bracket three frames and blend them.
You Let the Crowds Win
Coach parties keep a rhythm. They arrive mid-morning, fill the courtyard until early afternoon, and thin out near closing. Be at the gate when it opens, or stay for the last hour. Shoulder season helps too: the same castle in late October is a different place from the same castle in August.
When the crowds are unavoidable:
- Change position. Most visitors cluster at the entrance and the first viewpoint. Ten minutes along the outer wall and you often have the place to yourself.
- Shoot tight. A telephoto lets you isolate a turret, a gargoyle or a window against the sky — the tour group simply leaves the frame.
- Use a long exposure. A 10-stop neutral density filter and a tripod turn thirty seconds into soft blur where people were walking. Anyone standing still will ghost into the shot, so time it for a moving crowd.
- Come back. A second visit at opening time costs less than the lens you would buy to fix the problem.
You Bring the Wrong Lens
Wide angle is the obvious choice for a big building, but used carelessly it makes towers lean backwards and turns a grand hall into a distorted box. Two lenses earn their place in the bag:
- Something around 16–35mm for the courtyard, the gatehouse, the great hall. Keep the camera level so verticals stay straight, and correct any remaining convergence in editing rather than tilting the camera upward.
- 70mm or longer for compressed layers — one tower behind another, the keep framed in a gap between trees, a flag against a ridge.
A polarising filter cuts glare from wet stone and deepens the sky; it is often the difference between a flat frame and a dramatic one. Skip it under heavy overcast, where it does very little.
You Ignore the Rules and the Weather
Check what is allowed before you go
Drone rules around historic monuments vary and are frequently stricter than general drone law, and many castles prohibit them outright. Tripods are sometimes restricted inside rooms, flash is usually banned, and a few sites ask visitors not to photograph particular collections. Ask at the ticket desk. Staff answer this question daily and will tell you plainly.
Bad weather is not wasted weather
Rain darkens stone to a deep brown-grey and gives you reflections, umbrellas and mood. Fog hides the modern town behind the castle and leaves only towers and roofs showing. A rain cover for the camera and a microfibre cloth for the front element cost little and rescue whole days.
You Forget the Place Around the Building
A castle is not only walls. It is the path up to it, the gate you walk through, the arrow slit that frames a slice of valley, the worn step where centuries of feet have passed. Those details carry the feeling of the visit.
Give yourself fifteen minutes to shoot nothing but details: doorways, keyholes, heraldry, moss on a sill, the shadow of a window falling across a floor. Then look for a human element — one figure on the rampart. A single small person tells the viewer how large the place is in a way no wide shot manages alone.
A Short Checklist Before You Press the Shutter
- Is the horizon level and are the verticals straight?
- What is the light doing now, and will it be better in twenty minutes?
- Is there a foreground that leads the eye into the frame?
- Can I remove the distraction by moving three steps or zooming in?
- Am I standing where everyone else stands?
Take the shot you planned, then take one riskier frame: lower, wider, closer, or later. The second one is usually the keeper. Castles have stood for centuries; you can afford to wait twenty minutes for the light.
Photo: Garrison Gao / Pexels